Quick start
Create, design, and place your first storefront table in a few steps.
Written By Floris de Vries
Last updated About 2 hours ago
Follow these steps to publish your first table with Tables, Specs & Comparisons.
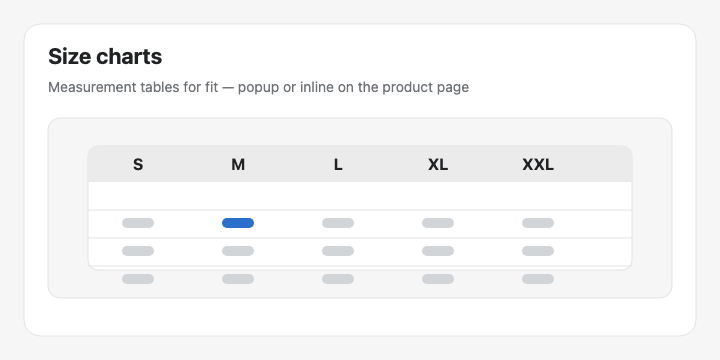
Step 1: Create a table
Open the app from Apps → Tables, Specs & Comparisons.
Click Create table.
Choose Start from scratch or Generate with AI (describe or upload a screenshot).
Pick a table type (Size chart, Product Specs, Comparison, Tabbed, or Us vs Them).
Step 2: Build Structure
Add groups, modules, tabs, or measurement blocks depending on the type.
Prefer Shopify-backed modules (Weight, Price, options, metafields) when values should stay live.
Use Refine with AI if you want to rebuild structure from text or an image.
Step 3: Design
Pick a template and adjust colors, fonts, and chrome (popup, tray, tabs).
Optional: Refine with AI using a brand URL or screenshot.
Step 4: Settings
Enable the table for the storefront.
Set product visibility (all products or selected products) where applicable.
Step 5: Place on the theme
Enable the app embed (Theme settings → App embeds).
Add the matching theme app block, or rely on auto-placement for Size charts / Compare.
Save the theme and verify on the storefront.
Tip: See Overview of table types for visual examples of each type.